
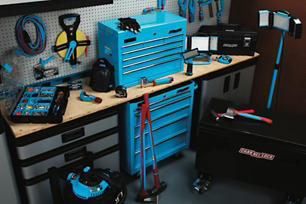
From top-notch tools to expert advice, we’ve got your DIY and home improvement needs covered! Our services are tailored to meet your every need. Trust us as your local experts and one-stop-shop for convenience, quality, and unmatched expertise in all things hardware!
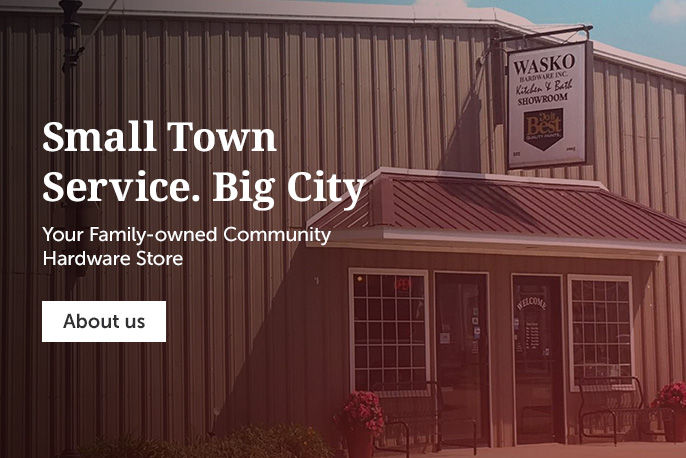
Serving the Keosauqua Community Since 2005
Joe and Susan and their staff are devoted to knowing their customers, their families, and their personalities. They are proud to call Keosauqua home. Their helpful and friendly staff can usually find a solution for their customer’s projects or problems, and if they don’t have what they need in the store, they will order it for the customer. They carry and load merchandise if needed and will also deliver to the surrounding areas.
Shop by top brands


Featured articles

4 Tips to Get Your Garden Ready for Spring
Do these things before the season starts for a beautiful and healthy harvest.
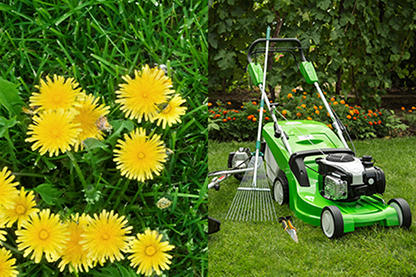
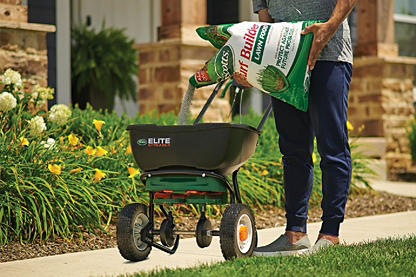
Lawn Care 101: A Beginner's Guide
Learn everything that goes into a beautiful yard, from fertilizing to watering!

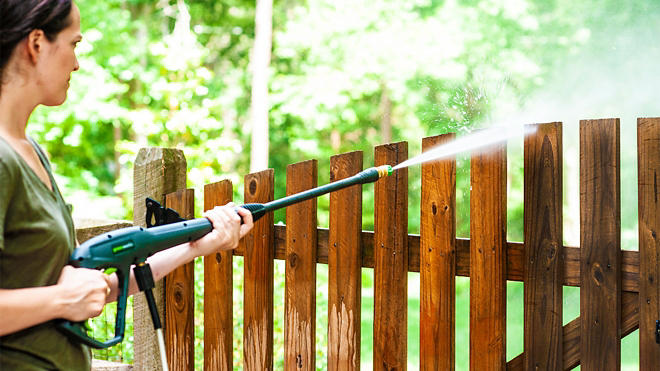
How to Grow a Greener Lawn
Keep your yard beautiful, healthy, and thriving with these simple tips and tricks.